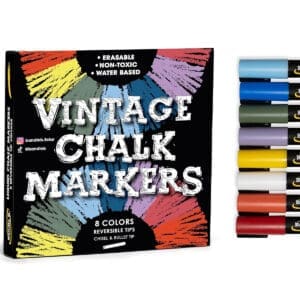
Unlocking Creativity: A Guide to Priming Liquid Chalk Markers
Liquid chalk markers have become a favorite tool for artists, educators, and crafters alike. They offer the vibrancy of traditional markers combined with the clean erasability of chalk. But before you dive into your next project, there’s a crucial first step: priming your liquid chalk markers. Priming ensures that your markers flow smoothly, providing consistent color and sharp lines. Here’s how to do it right.
What Are Liquid Chalk Markers?
Liquid chalk markers are filled with a water-based ink that dries to a chalk-like finish. They work on various surfaces, including chalkboards, glass, plastic, metal, and more. Unlike traditional chalk, liquid chalk markers produce dust-free, bold, and opaque lines, making them ideal for both temporary and semi-permanent projects.
Why Priming Is Essential
Priming your liquid chalk markers is crucial because it activates the marker and ensures the ink flows smoothly to the tip. Without priming, your markers may produce uneven lines, streaks, or even damage the tip. Proper priming sets the stage for a seamless creative process.
Step-by-Step Guide to Priming Liquid Chalk Markers
1. Shake the Marker
- Why? The ink inside a liquid chalk marker tends to settle over time, causing the pigment to separate from the liquid base.
- How? With the cap on, shake the marker vigorously for about 15-30 seconds. This will mix the ink, ensuring consistent color and opacity.
2. Press Down the Tip
- Why? Pressing the tip helps the ink to flow down from the reservoir to the nib.
- How? On a piece of scrap paper or a clean, flat surface, press the tip of the marker down firmly. Hold it for a few seconds until you see the ink start to fill the tip. This may take 5-10 seconds.
3. Test the Flow
- Why? Ensuring smooth ink flow before starting your project helps prevent mistakes and ink blotches.
- How? Draw a few lines or shapes on your scrap paper. The ink should flow smoothly, without gaps or streaks. If the ink isn’t flowing well, press the tip down a few more times.
4. Repeat as Needed
- Why? Depending on the size of the nib and the type of ink, some markers may need more priming than others.
- How? If the ink flow is still uneven, repeat the process until the marker is fully primed and ready to use.
Tips for Maintaining Your Liquid Chalk Markers
- Store Horizontally: This helps keep the ink evenly distributed inside the marker, reducing the need for frequent priming.
- Cap Tightly: Always replace the cap securely after use to prevent the ink from drying out.
- Clean the Tip: If you notice any ink buildup or dried residue on the tip, gently clean it with a damp cloth.
Creative Uses for Primed Liquid Chalk Markers
Once your markers are primed and ready, the possibilities are endless. Here are a few ideas to inspire your next project:
- Chalkboard Art: Create intricate designs, quotes, or calendars on chalkboards.
- Window Decorations: Use your markers to draw festive designs or write messages on windows and mirrors.
- Labels and Signage: Liquid chalk markers are perfect for creating eye-catching labels on jars, signs, or menu boards.
- DIY Crafts: Decorate mugs, vases, or any non-porous surface with personalized designs.
Conclusion
Priming your liquid chalk markers is a simple but essential step in ensuring that your creative projects turn out just as you envision them. By following these easy steps, you’ll be ready to create vibrant, clean, and professional-looking art with ease. So, grab your markers, prime them up, and let your creativity flow!


