Liquid chalk markers have revolutionized the way we create, teach, and decorate, offering vibrant, dust-free colors that can be easily erased. However, it’s crucial to properly prime the surface to get the best results, especially on a chalkboard. Priming not only enhances the appearance of your artwork but also makes erasing a breeze. Here’s how to do it right.
Why Priming Your Chalkboard Is Important
Priming a chalkboard before using liquid chalk markers is an essential step often overlooked. Here’s why it’s so important:
- Prevents Staining: Liquid chalk markers are highly pigmented, which means they can leave behind ghosting or stains on an unprimed surface. Priming creates a barrier that helps prevent this.
- Smooth Surface: A well-primed chalkboard provides a smooth, even surface, ensuring that your markers glide effortlessly across it.
- Easy Erasing: Properly primed boards allow for easier cleanup to erase your designs without leaving any residue behind.
How to Prime Your Chalkboard: Step-by-Step
1. Clean the Chalkboard
- Why? A clean surface is essential for effective priming, as dust and debris can interfere with the process.
- How? Wipe the chalkboard with a damp cloth or sponge to remove dust, dirt, or old chalk residue. Allow it to dry completely before proceeding to the next step.
2. Prime with Traditional Chalk
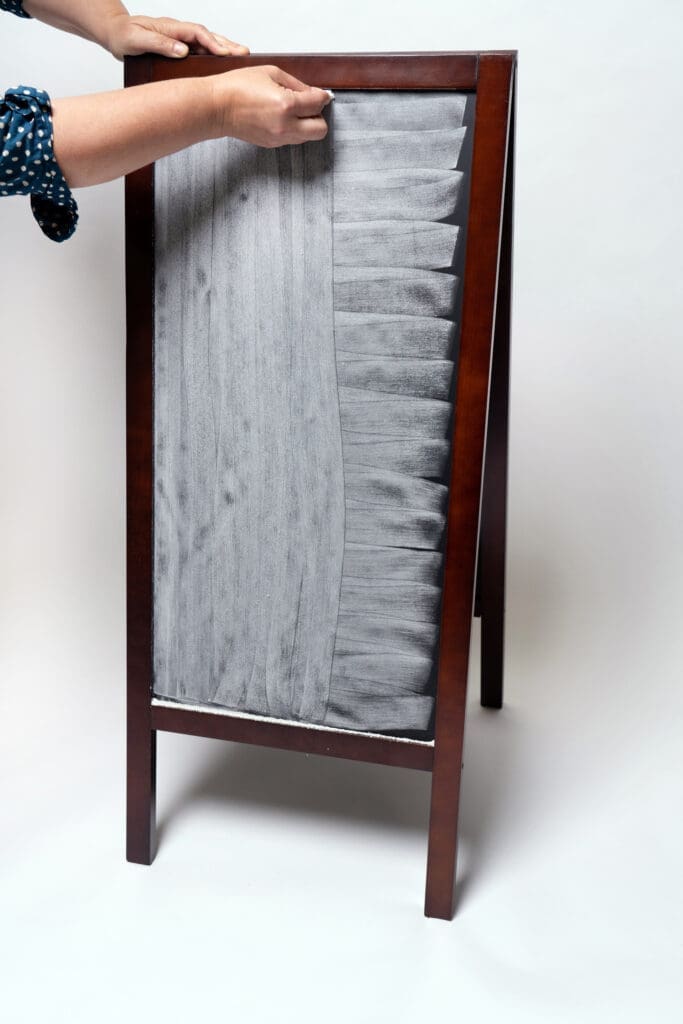
- Why? Using traditional chalk to prime the board helps fill in any porous spots on the surface, creating an even base for your liquid chalk markers.
- How? Take a piece of white chalk (sidewalk chalk works best) and rub it over the entire surface of the chalkboard. Hold the chalk flat against the board, using the side of the chalk, not the tip. Cover every inch, making sure there are no gaps.
3. Spread and Erase the Chalk
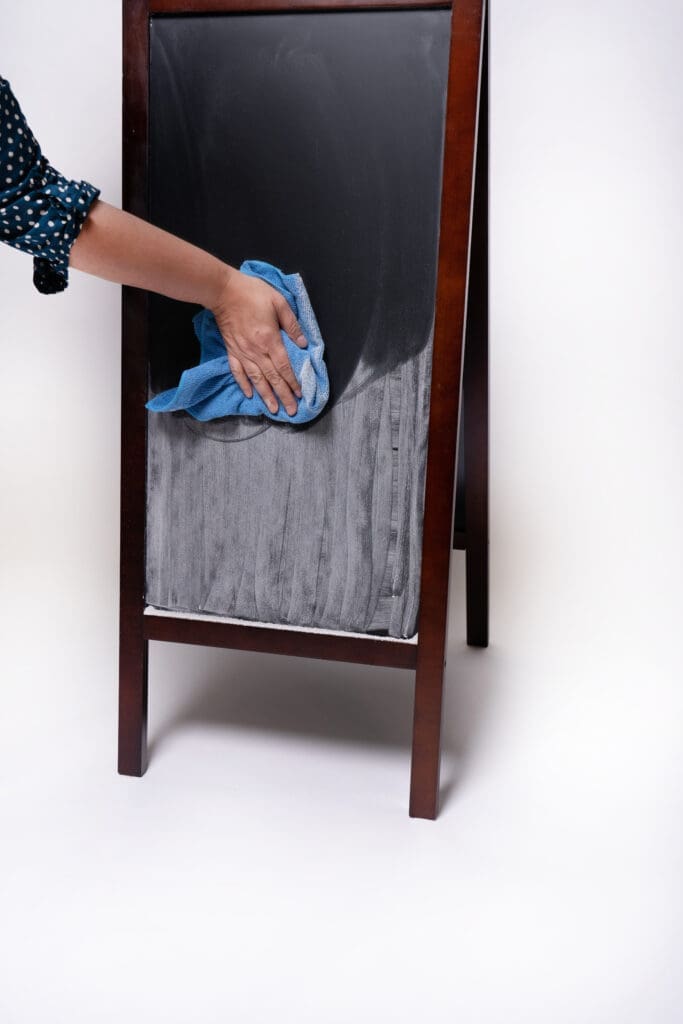
- Why? Spreading the chalk dust evenly ensures that the entire surface is properly coated, and erasing it removes excess dust.
- How? Use a clean, dry cloth to rub the chalk into the board. Rub in circular motions to distribute the chalk dust evenly. Once the board is evenly covered, wipe away the excess chalk with a clean, dry cloth or an eraser.
4. Test the Surface
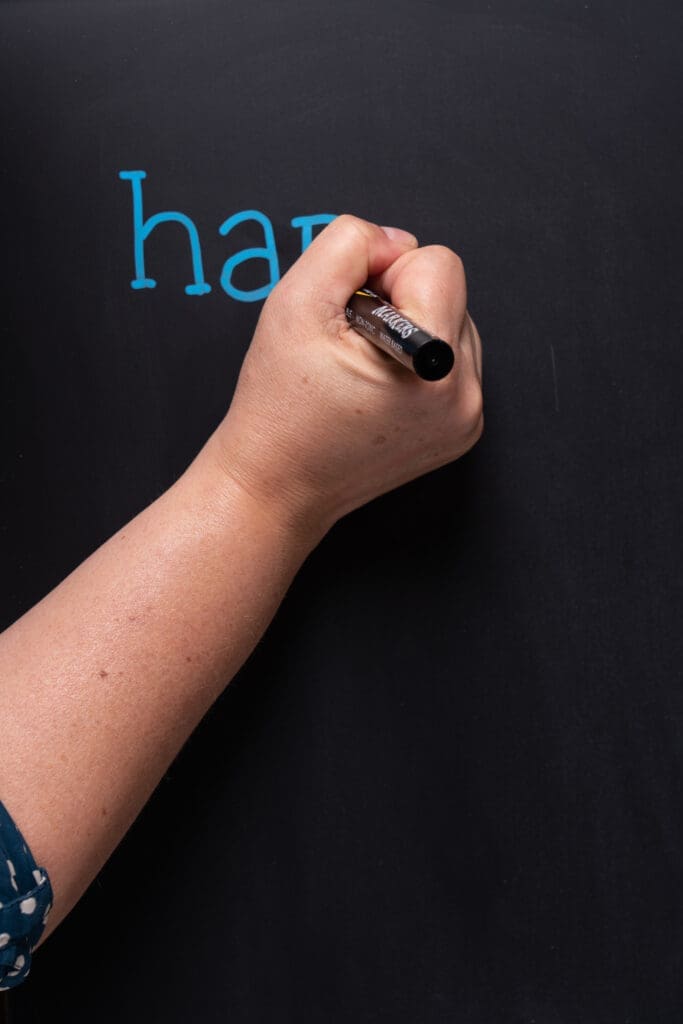
- Why? Testing ensures that your board is ready for use with liquid chalk markers and that it erases easily.
- How? Write a small line, draw a simple design with a liquid chalk marker, and then erase it. Your chalkboard is properly primed if the marker erases cleanly without leaving a stain. If not, repeat the priming process.
Tips for Maintaining a Primed Chalkboard
- Regular Cleaning: Clean your chalkboard regularly with a damp cloth to remove any residue and keep the surface smooth.
- Re-priming: Over time, especially with frequent use, your chalkboard may need to be re-primed. If you notice ghosting or if the markers are not erasing as easily, it’s time to prime again.
- Avoid Harsh Cleaners: Stick to water and gentle cleaning solutions to avoid stripping the chalkboard’s surface.
Creative Ideas for Your Newly Primed Chalkboard
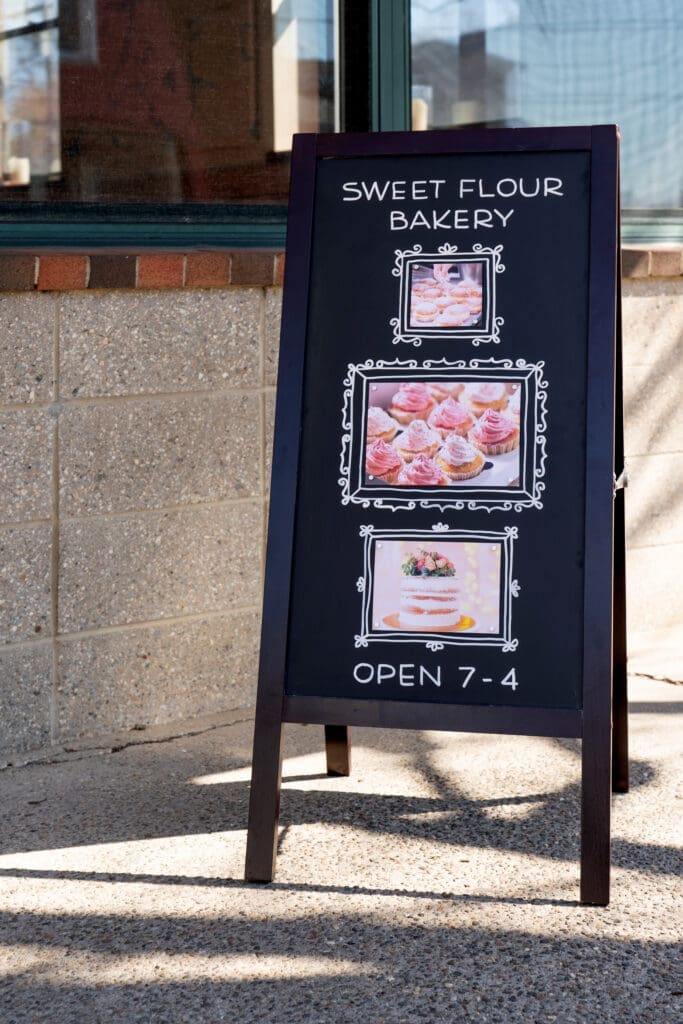
With your chalkboard now primed and ready, the possibilities are endless. Here are a few ideas to spark your creativity:
- Menu Boards: Design and update your weekly menu with ease.
- Classroom Displays: Create interactive lessons or inspirational quotes for your students.
- Home Décor: Use your chalkboard for seasonal decorations, countdowns, or family reminders.
- Event Signage: Make personalized signs for weddings, parties, or other special events.
Conclusion
Priming your chalkboard is a simple but essential step in preparing it for use with liquid chalk markers. By properly cleaning, priming, and testing your chalkboard, you’ll ensure that your artwork, notes, and designs look their best and erase easily. So grab your chalk, get priming, and get ready to create something amazing!
